.png?width=300&height=300&name=Untitled%20design%20(6).png)
The POS+ Extension runs in a Chrome Browser window and supports the core payments flows for POS+:
- Terminal payments
- Keyed Transactions
- Keyed ACH
- Payment links
Installation
First, First, Envoy will set up the customer’s login credentials in the POS+ Portal.
Without a username and password, the merchant will be unable to log into the POS+ Extension.
POS+ Cloud Extension Installation Demo Video
Next, navigate to the Chrome Web Store. Search for “POS+” in the search bar or click this link to navigate directly to the POS+ Extension: Chrome Web Store Link
Once on the page, click the Add to Chrome button.

Figure 1: POS+- Chrome Web Store Example
Approve the POS+ download and press Add Extension.
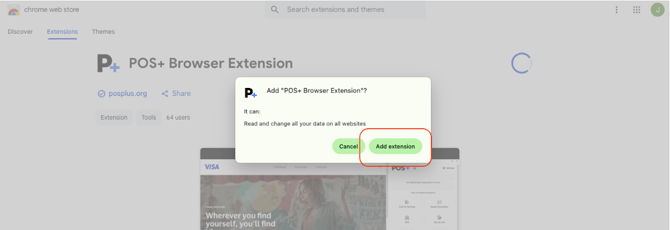
Figure 2: POS+ - Chrome Web Store- Add Extension
The POS+ Extension is now installed.
Navigate to the Extensions puzzle icon in the top-right corner of the Chrome navigation bar.
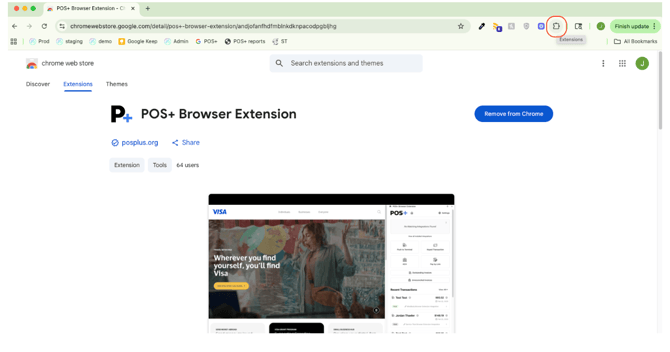
Figure 3: POS + – Extensions Puzzle Icon
Find the POS+ extension in the list of extensions and press the thumbtack icon to pin the POS+ Extension to the merchant’s Chrome Browser for easy access.
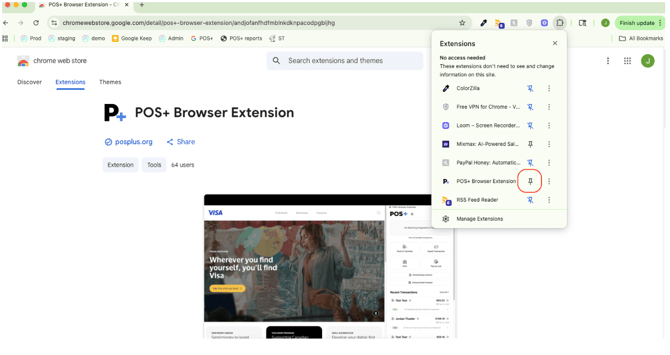
Figure 4: POS + – Pin Extension
Ensure that the POS+ icon is now visible in the navigation bar.

Figure 5– POS+ Icon Visible
Pressing the POS+ Extension icon will prompt you to log in. Use the merchant credentials generated in the POS+ Portal to log in.
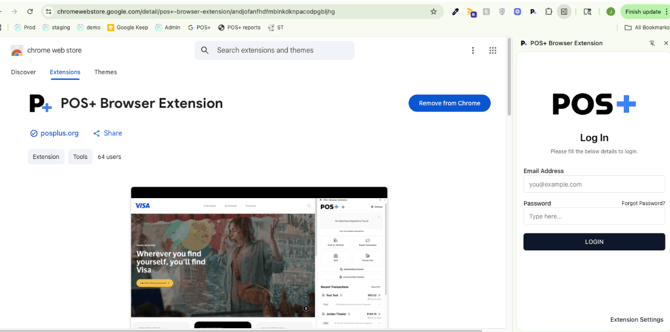
Figure 6 –POS+ Browser Extension- Login Screen
Once logged in, the extension may ask you to select a Team.
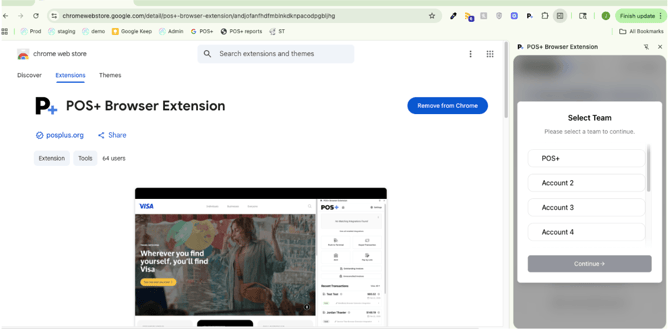
Figure 7- POS+ Browser Extension – Team Selection
You will now see the core payment flows available in the POS+ Extension.
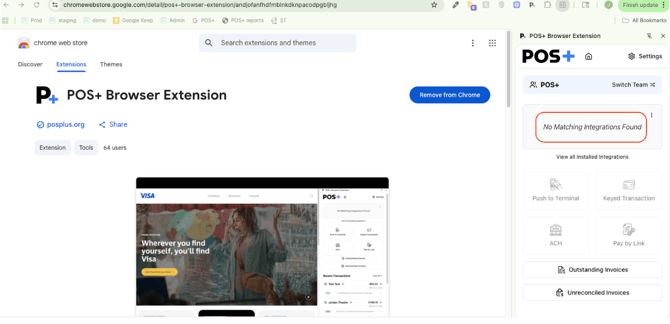
Figure 8– POS+ Browser Extension -No Matching Integrations Found
Navigate to the correct payments page in the software and POS+ should automatically detect the matching integration.
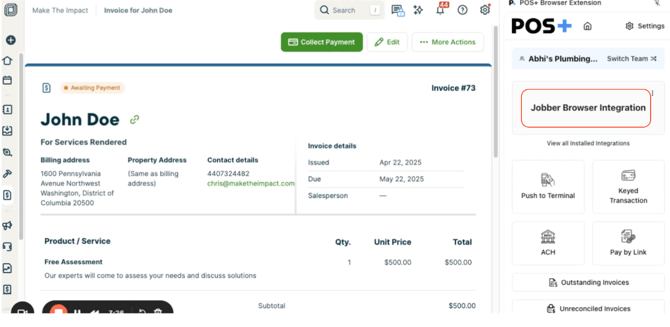
Figure 9– POS+ Browser Extension - Matching Integration Detected
Troubleshooting
If the POS+ Extension does not automatically recognize the software integration, try the following.
-
Verify that you are on the correct software URL. Refer to the software page in the POS+ Portal to find the correct URL.
- Close the POS+ Extension, refresh the browser window or open the page in a new browser tab, and reopen the POS+ Extension.
- Manually input the Integration ID into the POS+ Extension.
Video Demo- POS+- Add Integration ID
Click the three vertical dots on the POS+ Extension integration pane and press Add New Integration.
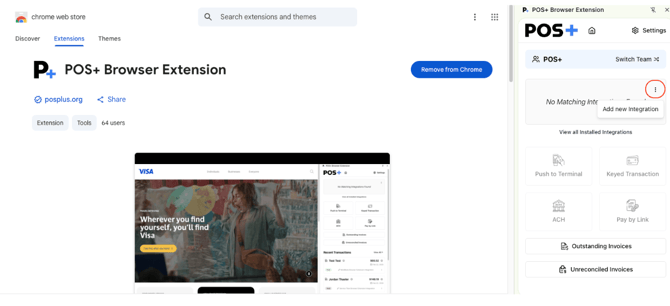
Figure 10– POS+ Browser Extension - Matching Integration Detected
Manually enter the Integration ID from the relevant software page in the POS+ Portal.
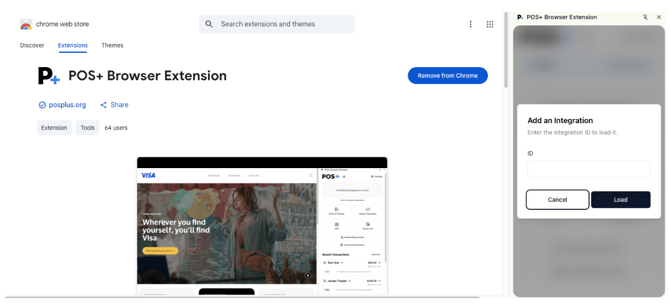
Figure 10– POS+ Browser Extension - Add an Integration
Press Load.
A successful integration will pop up an alert.
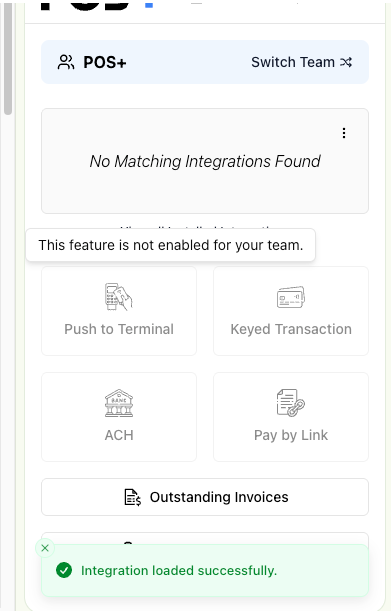
Figure 11– POS+ Browser Extension - Integration Loaded Successfully
If you receive An unexpected error occurred this is most likely an issue with the gateway. We have found that this can occur when there are new terminal builds to be pushed.
Please confirm terminal builds with your gateway first.
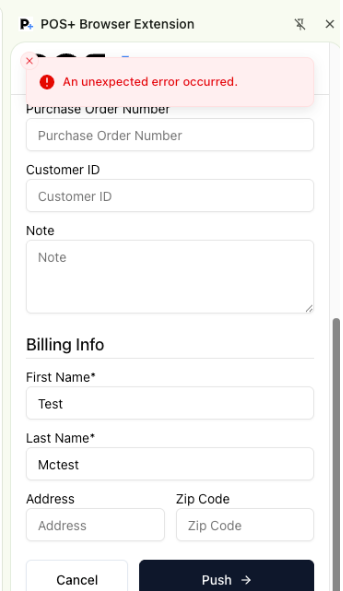
Figure 12– POS+ Browser Extension - Unexpected Error
If you are unable to use the payment buttons (the payment buttons appear inactive or deactivated) it is because the gateway has not been set up correctly or you have deactivated certain payment flows from the POS+ portal. Please confirm the setup to proceed.
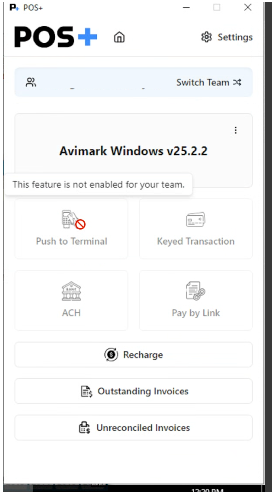
Figure 13– POS+ Browser Extension -Payment Screen